


Don’t rush this step. Trust us.
You’ve spent ages creating your masterpiece. Now it’s time to expertly capture your artwork to share it with the world. If you’re sharing this photograph online, you’ll definitely want to follow all these steps to make sure that you’ve captured your artwork at its best.
Read on to avoid falling into common lighting mistakes!
The goal
The perfect lighting when photographing your artwork is natural, even lighting, without any colour cast. Strong light can cause glare and over-exposure. Too dim, and the pictures appear grainy and discoloured.
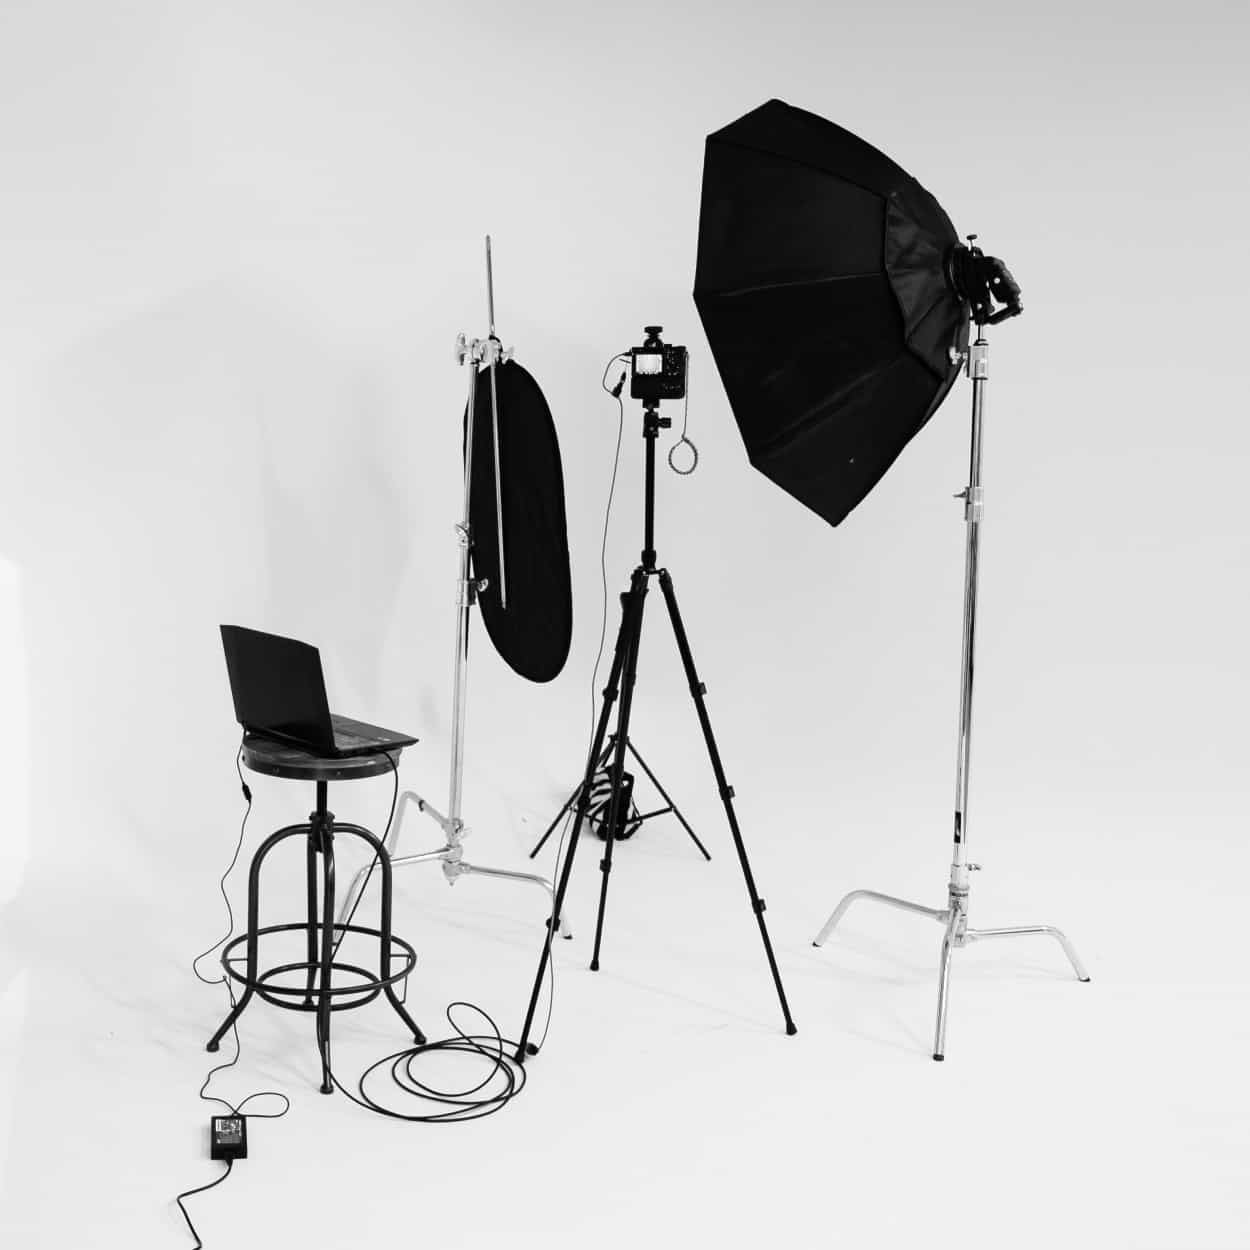
Don’t worry if you don’t have an expensive professional photo booth. Here’s how to use what you have at home to create the optimum set-up.
Golden hour? Not for artwork
Before you even start, the time of day is important. You may be aware that light quality and colour shifts throughout the day- giving us that gorgeous golden hour in the evening. Great for portrait shots, but not so great for capturing colour accurately.
So, the right time of day is needed to achieve the right type of light for your photography. Up early? Go back to bed as you’ll need to wait until the early morning golden hues have subsided.
In morning and evening, the light travels through the atmosphere at an angle. The longer path through the atmosphere filters out some of the blue frequencies in the sunlight. When it reaches earth, our eyes perceive a soft, yellowy light, due to the missing frequencies.
During the middle of the day, the sun is directly overhead. The sunlight has a shorter journey through the atmosphere, which produces intense, bluer light.
To be true to the colours in your original artwork, take your photographs during the day to avoid a yellowy colour cast from the sunlight.
What a good excuse for a lie in!

Colour cast
Talking of colour cast, let’s mention a few other annoying sources of colour tints.
Don’t take your photograph in a room with strongly coloured walls. The reflected light in the room is tinted by the wall colour, which will alter the colours of your photograph. It’s impossible to spot this with the naked eye (if you’ve ever seen those colour optical illusions, you’ll know what we mean) but it’ll certainly show up on the photograph later.
Try and use a room with neutral or light-coloured walls to avoid this.
Artificial light
Artificial lights can also provide an unwanted hue. Some halogen and filament bulbs give off a very yellowy glow, so best avoiding artificial light altogether. If that’s not possible, make sure to use bulbs which give off a colder, white light. The best bulbs to use are LED bulbs, or white fluorescent bulbs. Double check the temperature rating on the bulb if you are unsure- opt for around 5000K for the whitest light.
Avoid strong light
So, the sun is shining, and you’re ready to photograph your artwork- great! All that natural light.
If fact, cameras can struggle with bright, intense light. The type where the sunlight is streaming through the window on a gorgeous sunny day. Great for sunbathing, but not ideal for photography. The harsh light creates strong shadows and high contrast.
You might be surprised to know that the best weather for photographing artwork is actually a nice overcast day. The clouds act like a soft filter and diffuse the sun’s rays, creating even, medium intensity light. Perfect.
If you can’t control the weather, you can reduce the effects of the intense light by moving to a north facing room (northern hemisphere), where the light unlikely to stream directly through the window. The light is also more consistent throughout the day and provides diffused, even light.
Stay away from the window
Don’t get too close! Position your artwork at a distance away from the window to prevent uneven lighting. You want the sunlight to be reflected off the walls and ceiling before reaching your artwork, to illuminate all areas of your artwork evenly.
If you’re unable to achieve this in your room, try rotating the artwork to face away from the window. This obviously will depend on light intensity, as you still need your artwork to be well lit. But facing away from the light source guarantees an even distribution of light falling on your artwork rather than one-sided illumination.
Bear in mind you’ll also need to be able to position the camera in front of the artwork without casting a shadow. Another good reason to turn the artwork away from the window if possible.
Easy steps to avoid glare
Depending on the position of your light source, you may suffer from glare. Glare is caused when the light source is reflected off shiny paint (eg, oil) and directly into the camera, causing white specks on the photograph.
It’s particularly tricky to photograph certain materials without glare but spend some time adjusting the artwork slightly so that the light hits the canvas at a different angle.
Spend some time studying your artwork for shiny spots. Don’t rush this, as if your artwork is textured it can be easy to miss a few spots of glare.
Advance steps to eliminate glare
If this really isn’t working for you, or you have a very textured, shiny piece that just wants to shine, try these advanced steps to avoid glare.
- Filter the light
Use a white sheet or similar to cover the window. This acts in the similar way to clouds, and spreads the light out to be less dazzling
- Try a polarising lens
If you’re really stuck, try a polarising lens. A polarising lens is a very fine filter which blocks certain light waves. On your camera, rotate the lens until the glare disappears. This works well, but just be aware that the filter reduces the overall light levels into the camera. You may need to compensate for this with your exposure
Get it right first time
You may feel these steps seem overwhelming, but it’s super important to set the lighting right to capture your artwork perfectly. It’ll be worth it! A few minutes spent correcting the lighting can save hours of editing. Trust me- I’ve been there.
Find Perfection in the Edit
Many professional-level photo editing software options are available these days, including the reigning champion of photography, Photoshop. However, there are many less-expensive and easier-to-use alternatives available online such as:
